Long exposure photography without a neutral density filter
If you don’t have a neutral density filter but still want to get the effects of a long duration exposure there is a way.
The following dusk image is a composite or combination of eight ten second images that were taken with my OME EM5 and then processed in Photoshop.
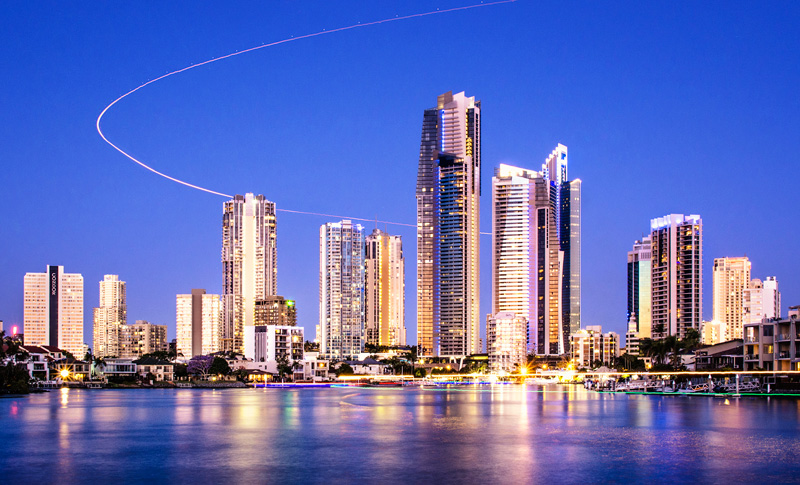
Surfer’s Paradise sunset taken without a neutral density filter.
How the photo was made
There were two moving element in this photograph whose motion I wanted to capture, the helicopter in the sky and a boat that went by in the foreground. I took a sequence of eight photographs, each at ten seconds. I shot on a tripod as I know this will help when the photographs are stacked and combined in Photoshop CS6.
The process consists of two steps, Step One is grading the RAW files to get the desired look I want and them saving them all as TIF files and then Step Two, stacking them in Photoshop and combining the images.
Step One
First I drag and drop all the RAW files into Photoshop. This will open up Adobe Camera RAW ACR. The images are then graded to get the look I am after by adjusting the sliders. After grading all images are saved out as a sequence of TIFs. When doing the grading make sure to hit “Select All” images so the grading adjustments are applied to all images.
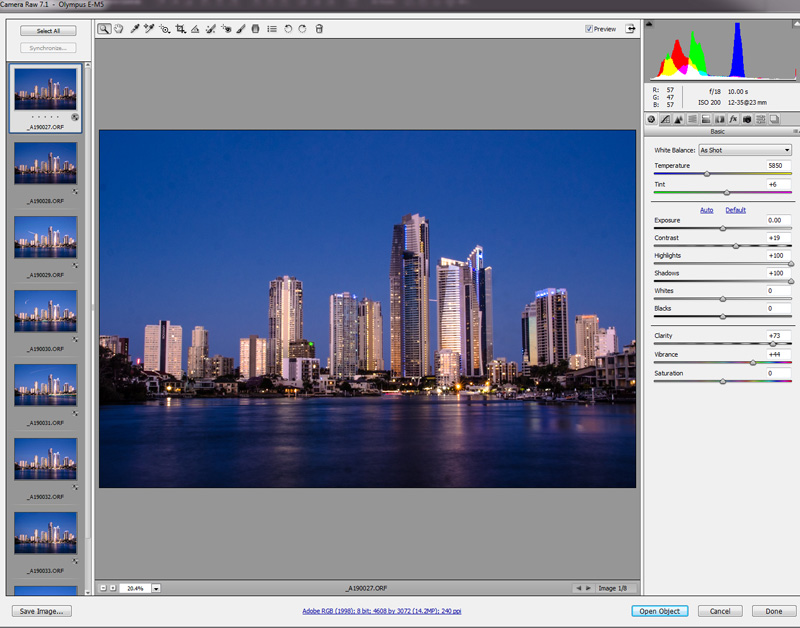
Adjusting the sliders to get the look I want
Step Two
This involves loading the layers into Photoshop via a script and then stacking them.
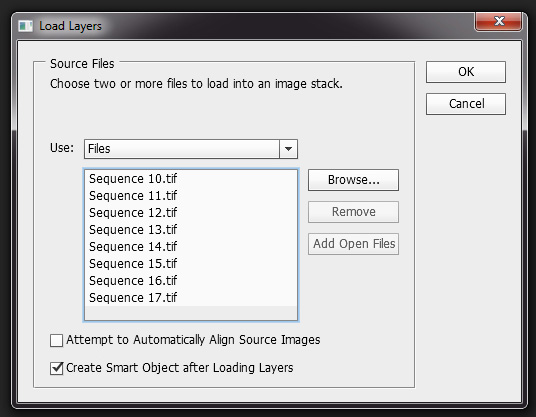
Files>Scripts>Load files into Stack
Notice how I have selected Create Smart Object after Loading Layers.
Upon importing the images, a single layer will be present, this being a smart object. Stack the smart object as below.
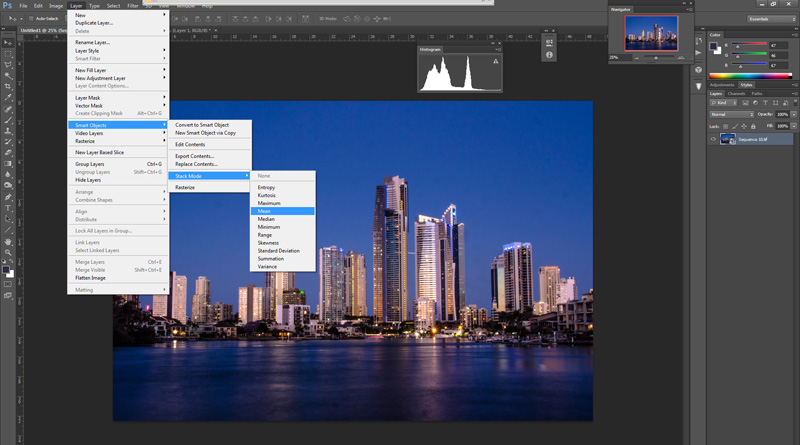
Stack the smart object using the mean option
One of the side benefits of stacking images is the reduction in noise as
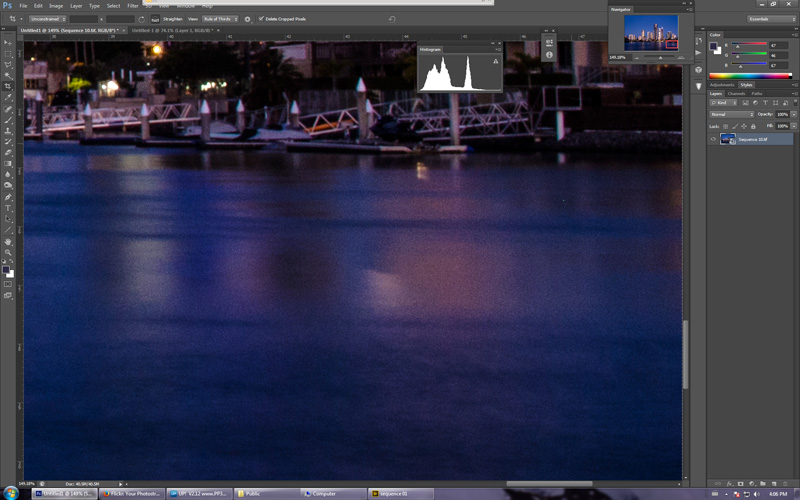
Noise in the shadows before stacking
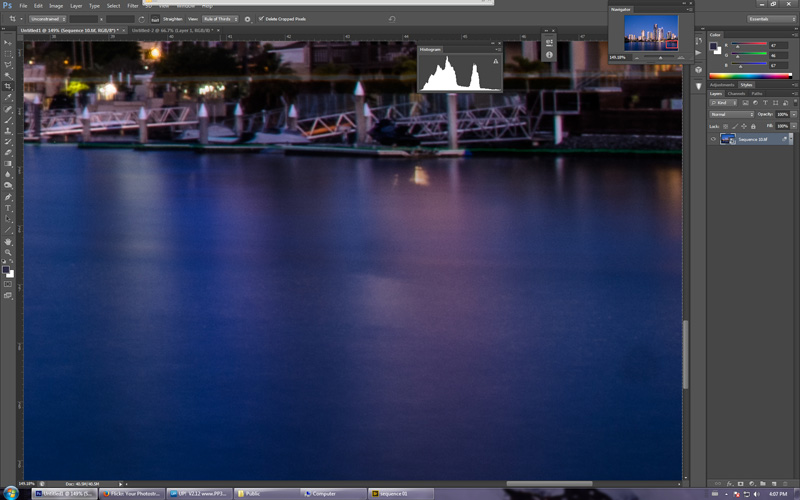
Noise in the shadows after stacking
